6th Sense Robotics Workshop
We have come with 2 days Workshop based on 6th Sense Robotics.


Project Description
- Overview
- Course
- Project
- Kit
- Photo Gallery
- Video Gallery
OVERVIEW
6th Sense Robotics will focus on getting you up and running with Arduino quickly, so that you will understand the basic procedures for working with Arduino and can explore further on your own.
An Arduino is a small computer that you can program to control things like lights or motors along with listening to components like motion detection sensors. It can give your project interactivity without needing an expensive and large circuit. Instead, you use a computer to program the Arduino, upload your code to the Arduino, and hook up your circuit.
The duration of this workshop will be two consecutive days with eight hours session each day, in a total of sixteen hours properly divided into theory and hand on practical sessions. At the end of this workshop a competition will be organized among the participating students where each participating student will get Certificate of Participation and the Winners will get Certificate of Merit.
Workshop Level : Intermediate Level
Best Suited For: All B.Tech/B.E./BCA/BSc Students
Workshop Certification: Robosapiens Technologies Pvt. Ltd.
Workshop Training Kit : Robosapiens Arduino Kit
Kits Source :

Day 1 (Session 1)
1. Basics of Robot Electronics:
- Basic Electronic Components
- Sensors
- Operational Amplifier
- Interfacing of Sensors
- Motors and Controlling Circuit
- Interfacing of Motors
2. Introduction to Microcontrollers
This session would deal with the basics of Microcontroller. The focus will be on the AVR series micro controller- ATMega8, which is one of the most powerful and widely used 8 bit micro controller.
- What is Microcontroller?
- Difference between Microcontroller and Microprocessor.
- How can we use Microcontroller in our Own Circuits?
3. Introduction to Programming Languages
- Microcontroller Programming using ’Embedded C’.
Day 1 (Session 2)
1. Introduction to Computer Vision And MATLAB
- Basics of image processing
- Algorithms used for image processing
- Image formats
- Complexity of Algorithms
- Color Space requirements
- Relation between RGB and HSV
2. Digital Image Processing in MATLAB
- Introducing MATLAB
- Image acquisition Toolbox in MATLAB
- Image Processing Toolbox in MATLAB
- Tools of Image processing in MATLAB
- Programming paradigms in MATLAB
- Image acquisition in MATLAB
- Camera Selection
- Algorithm Designing
3. Image Acquisition and Processing
- Functions for Image acquisition
- Functions and Keywords for image processing in MATLAB
- Hardware interfacing
4. Installation of Software and Debugging
- Writing your First ’Embedded C’ Program in AVR Studio.
- Program Compilation and Debugging.
- Loading Compiled ’C’ Program into Microcontroller using Robosapiens ’AVR BOOTFlasher v1.0 Beta’
Day 2 (Session 3)
1. Image Manipulation in MATLAB
- Image Manipulation
- Threshold adjustment
- Template matching
- Shape Detection
- Object Detection
- Motion Detection
2. Assembling the DIY kit of Robosapiens iBOT Mini V3.0
Assembling plays a major role that deals with the mechanical section of Robotics including mounting of components and mechanical stability.
3. Development of Line Following Robot using Robosapiens iBOT Mini V3.0
As the name suggests, Line Follower Robot is well programmed mobile machine that can follow a path visible like Black Line on White Surface or vice versa. A simple fuzzy logic will do the job of maneuvering the robot according to the Line Following Algorithm.
4. Development of GUI Switch Controlled Robot using Robosapiens iBOT Mini V3.0
GUI Switch Controlled Robot is based on the MATLAB GUI Tool that helps in controlling the robot using the serial port interfacing of PC and the Robot.
5. Development of Laser Controlled Robot using Robosapiens iBOT Mini V3.0
Laser Controlled Robot is well programmed mobile machine that can be controlled wirelessly according to direction of the laser ray using the most sensible viewing organ of the robot i.e. Camera.
Day 2 (Session 4)
- Image acquisition tool box
- GUI using Image processing
- Capturing Images and Real-Time Processing
Certificate Distribution
- Certificate of Participation will be provided to all the Participants.
Project to be Covered
- Blinking LED
- De-bouncing
- Counter using Seven Segment
- Digital Voltage Measurement
- PC-MC Communication
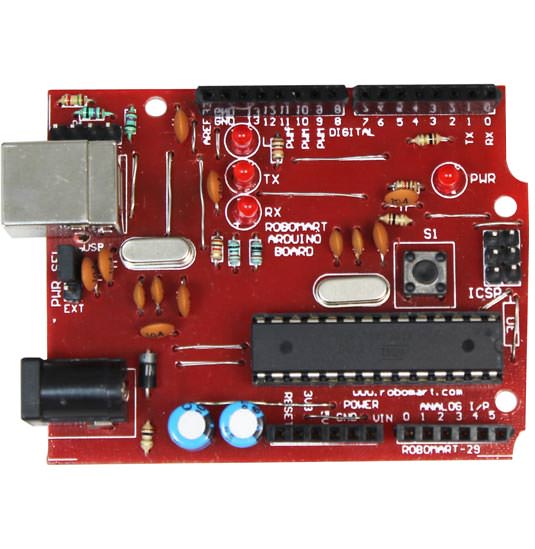
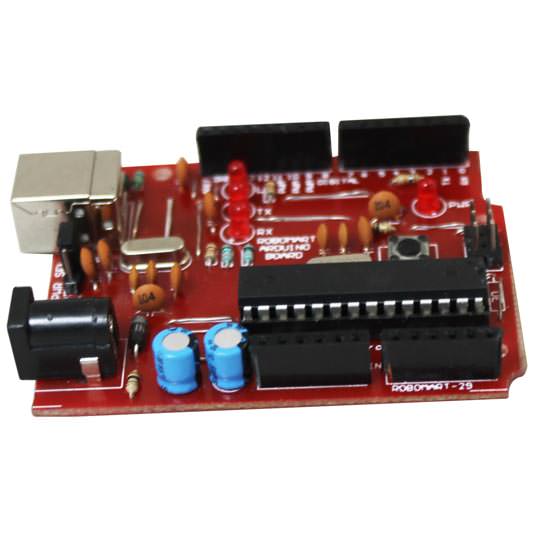
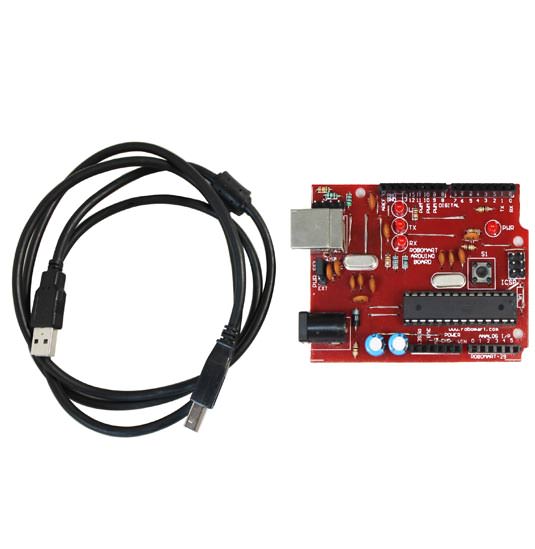
1x (Robosapien's Arduino Development Board)
- Programming via boot loading through USB Port or 6-Pin ISP (In System Programming) cable.
- Plug & Play device
- Three ports available for user interface: PORTB, PORTC, PORTD
- External Reset Switch
- On board crystal oscillator of 16 MHz frequency
- Two supply inputs: One through USB and Second through Adapter
- On board 5 volt regulated power supply for the board and external peripherals
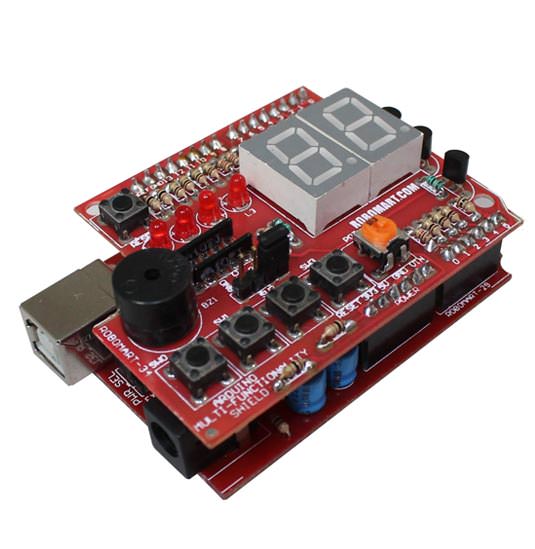
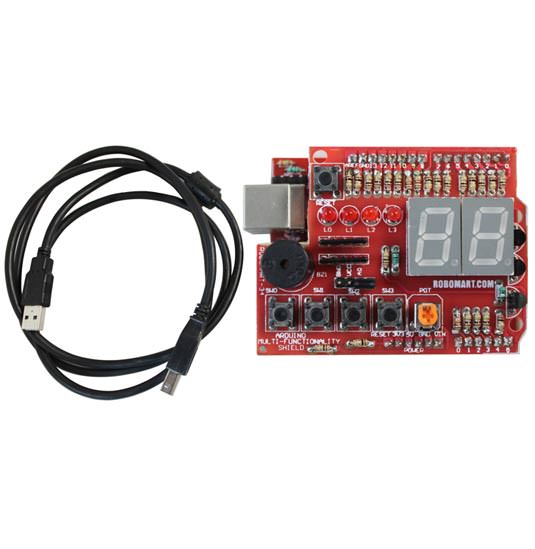
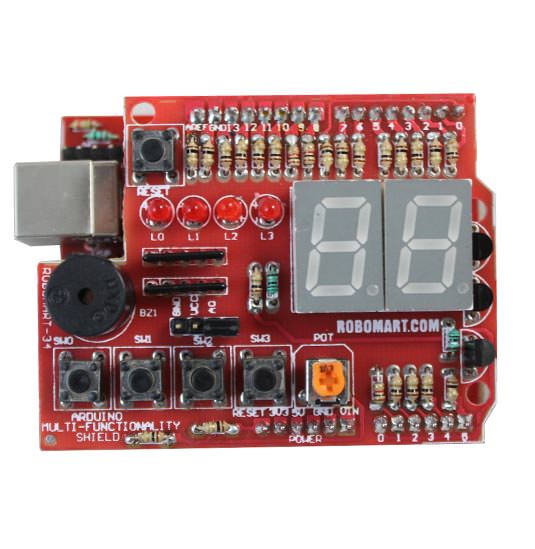
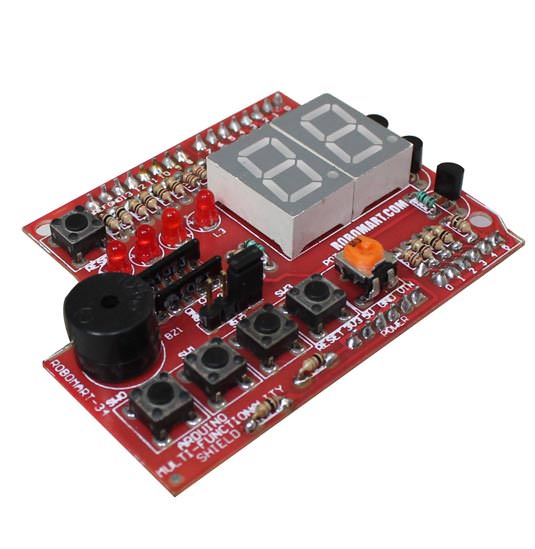
1x (Arduino Multi-Functional Shield)
USB Cable (A to B Type)
Other required Tools and accessories etc.


Workshop Highlights
- Open Source Platform
- Easy to learn
- Easy to Debug
- Interfacing I/O devices
- Interfacing External Peripherals
- Learn Advance Topics
- Live Projects
Attractions
- FREE ARDUINO KIT to Individual Group
- Certificate by Robosapiens Technologies Pvt. Ltd.
- Certificate of Participation to all Zonal participants
- Certificate of Merit to all Zonal Winners
- Straight Entry into Final Round of National Level Robotics Championship
- Chance to represent yourself in IIT (Indian Institute of Technology)
- Enhance your Knowledge through various Live Projects
- Attractive On Spot Cash Prizes for all Final Round Winners